


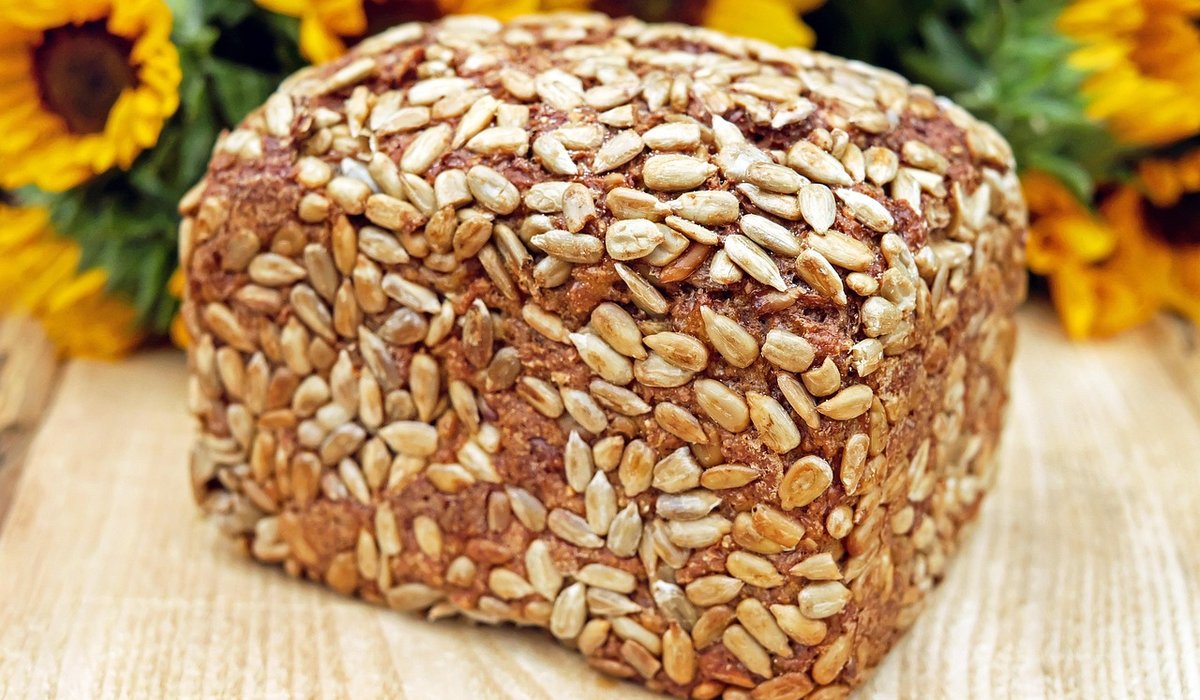
There is something quietly subversive about keeping a jar of flour and water alive on the kitchen windowsill. In a world that wants everything in thirty minutes, sourdough asks for days. It asks you to notice the weather, to plan around the fire, to be home at the right hour. For anyone drawn to rustic living and the older rhythms of the British countryside, it is one of the most rewarding slow traditions to adopt — and it costs nothing but patience and a little strong white flour.
Building and Keeping a Lively Starter
A starter is simply flour and water colonised by wild yeasts and friendly bacteria. Begin with 50g strong white flour and 50g lukewarm water in a clean jar, stir to a thick batter, cover loosely and leave somewhere draught-free at around 20°C. For the first week, discard all but 50g each day and feed that 50g with another 50g flour and 50g water.
By day five or six you should see the signs of life: a domed top, a faint sour smell like yoghurt and apples, and a network of bubbles when you pull the spoon through. From then on, if you bake weekly, keep the jar in the fridge and feed it once a week. The night before baking, take it out, feed it 1:1:1 by weight and let it rise until it has at least doubled and smells pleasantly yeasty rather than sharply acidic.
A few practical notes:
- Use scales, not cups. Sourdough is forgiving of time but not of guesswork.
- Chlorinated water slows fermentation. Leave tap water in an open jug overnight, or use filtered water.
- Wholemeal and rye flours ferment faster and give a deeper flavour; strong white gives lift and a lighter crumb. A 20 per cent wholemeal addition is a good starting point.
- A dark liquid on top means the starter is hungry, not dead. Pour it off, feed generously twice, and it will come back.
The Slow Rhythm of Fermentation
A reliable everyday loaf for a domestic oven goes like this. In the evening, mix 500g strong white flour, 350g water at about 24°C and leave for forty minutes to hydrate. Add 100g active starter and 10g fine sea salt, squelch everything together by hand until no dry flour remains, then cover and rest for thirty minutes.
Over the next three to four hours, give the dough a set of stretch and folds every forty-five minutes: wet your hand, lift one side of the dough up and over towards the centre, turn the bowl a quarter and repeat four times. This builds strength without kneading. The dough is ready for the next stage when it feels puffed, jiggly and slightly domed, and a small piece floated in water holds together rather than dissolving.
Then comes the part that suits country life beautifully. Shape the dough roughly into a round, put it in a floured bowl or banneton, cover with a shower cap or tea towel and leave it in the coldest part of the fridge for eight to sixteen hours. Bake it the following morning, or even the following evening. The long cold rest develops flavour and fits around work, animals, school runs and the simple fact that you need to sleep.
Shaping and the Final Proof
Tip the chilled dough onto a lightly floured worktop. It will feel firm and much easier to handle than warm dough. Flatten it gently into a rectangle, fold the left and right sides into the middle, then roll it up from the top towards you to form a plump sausage. Cup your hands around it and drag it across the worktop to build surface tension — a tight skin is what gives you an ear and an even rise.
Place it seam-side up in a well-floured banneton or a bowl lined with a floured tea towel. Leave at room temperature for one to two hours until it springs back slowly when poked. A gentle poke should leave a slight indentation that fills in over a few seconds; if it bounces straight back, it needs longer, and if it stays dented, you have gone too far.
Baking in a Domestic Oven
You do not need a brick oven or a stone floor. A cast-iron casserole with a lid, preheated for forty-five minutes at 240°C (fan 220°C, gas 9), traps the steam a sourdough crust needs.
- Turn the loaf out onto baking parchment, score it confidently at a shallow angle with a sharp blade — one long cut or a simple cross.
- Lower it into the hot pot, put the lid on and bake for twenty minutes.
- Remove the lid, drop the heat to 220°C (fan 200°C, gas 7) and bake a further twenty to twenty-five minutes until deeply browned.
- Check the loaf is done by tapping the base: it should sound hollow. If you have a probe, the centre wants to read 96–99°C.
Cool it completely on a wire rack before cutting. This is the hardest instruction in the whole process and the one most often ignored. A hot loaf is still setting its crumb; slice it early and you will lose the structure you spent a day building.
Fitting Sourdough Around the Year's Round
Sourdough behaves differently through the seasons, and learning to read that is part of the pleasure. In a cold January kitchen, bulk fermentation may take six hours; in a humid July, three. In summer, use cooler water and shorten the fridge rest. In winter, warm the flour, stand the bowl near the stove, or make the starter up with slightly hotter water.
Once the basic loaf is second nature, the same method carries you through the year: a rye and caraway loaf for autumn, a walnut and honey bread for Christmas, a plain white with a good butter for a Sunday tea. Keep a notebook of what you did and what the weather was doing. After a few months you will no longer need the recipe — you will simply know, the way bakers always have, by the feel of the dough beneath your hand.


Leave a reply